Engagely WordPress Integration
- Prior to beginning, please ensure you backup your website. If you are not sure how to do this, we suggest asking your web developer/manager and/or web host to do this step for you.
- Also, prior to doing this next step, some WordPress themes already give you the ability to insert code in the <head> </head> of the theme, so check if this is available first prior to using any plugins.
- In this integration example, we are going to use a WordPress Plugin named Insert Headers and Footers.
IMPORTANT: Prior to installing this or any other WordPress plugin, please ensure it is up to date and compatible with your WordPress Theme and other Installed Plugins. Just in case, make sure you backed up your site.
Step 1.
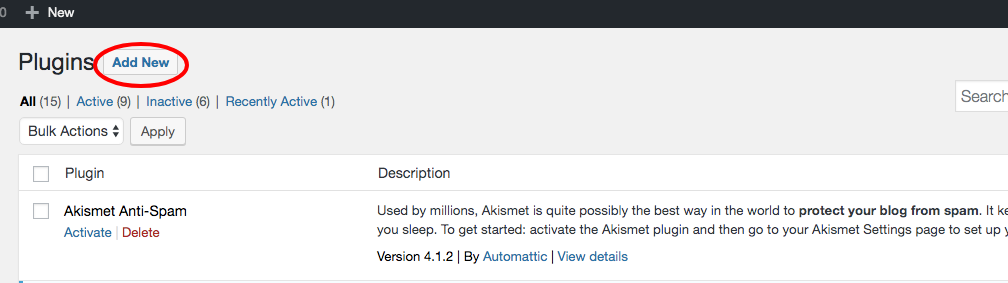
While logged into your WordPress dashboard, on the left sidebar, click on plugins.

Step 2.
Click on “Add New” to add a new plugin.
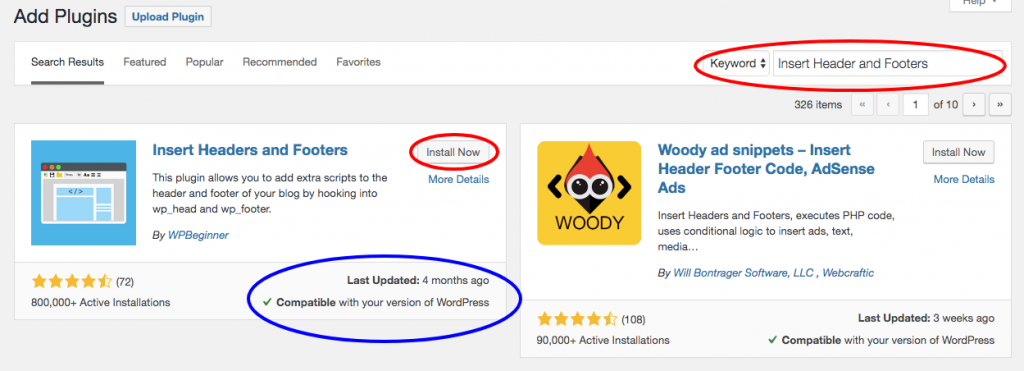
Step 3.
- In the search bar, enter “Insert Headers and Footers”
- Make sure you verified the plugin is up to date and compatible with your version of WordPress.
- Click “Install Now”
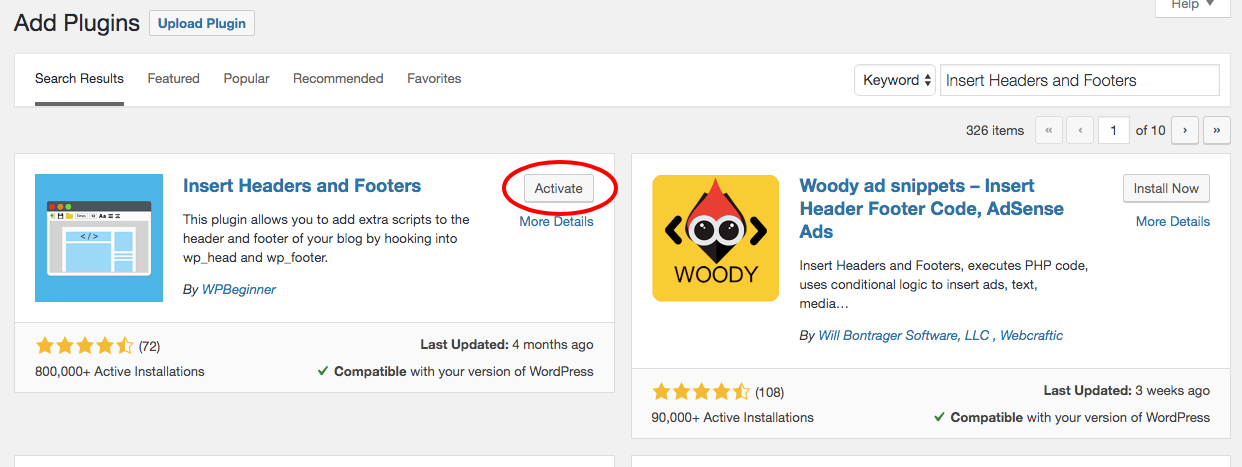
Step 4.
Activate the plugin.
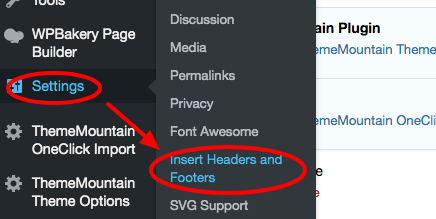
Step 5.
In the WordPress Dashboard Sidebar, click on “Settings” then click on “Insert Headers and Footers”.
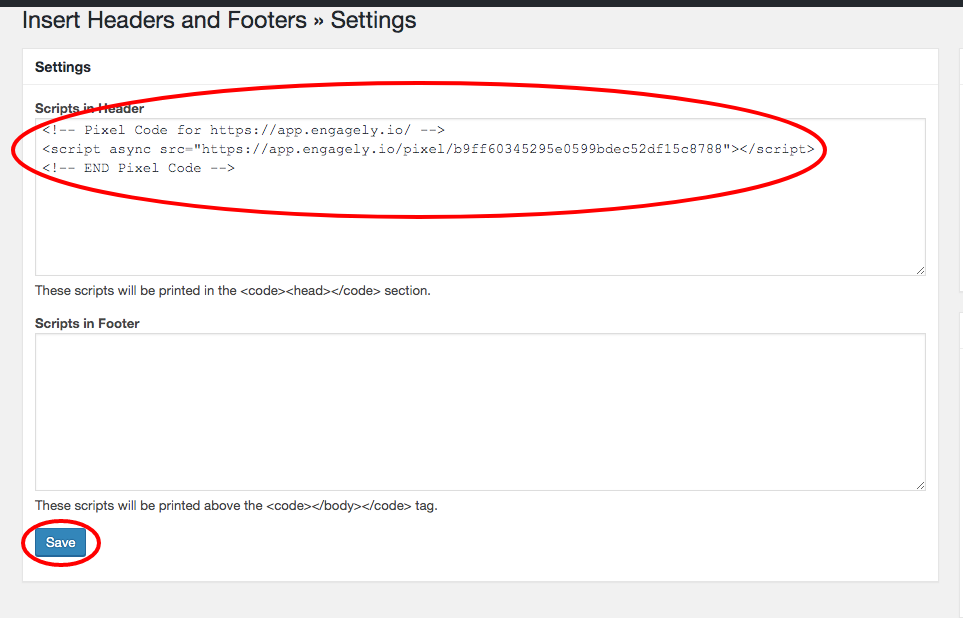
Step 6.
Paste the Engagely pixel code from your Engagely Dashboard and click save.